




Closed: 26th September – 8th October We will be closed during this time, so any physical orders placed will be processed and dispatched when we return on 8th October. Please note: All digital products are delivered automatically, so you'll receive instant access as soon as your order is placed. (Please check your spam folders for details) Thank you for your patience and support! Dismiss
Rated 4.8 on Google
Learn to create crisp, clean edges and beautifully smooth fondant cakes, using Carol’s proven sharp edge method, award-winning tools, and step-by-step guidance
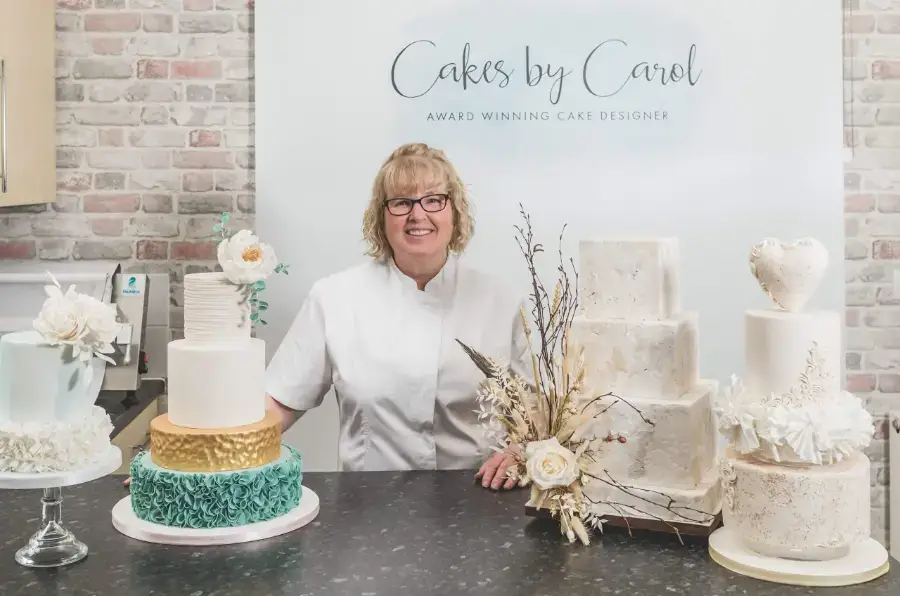
Award winning cake designer
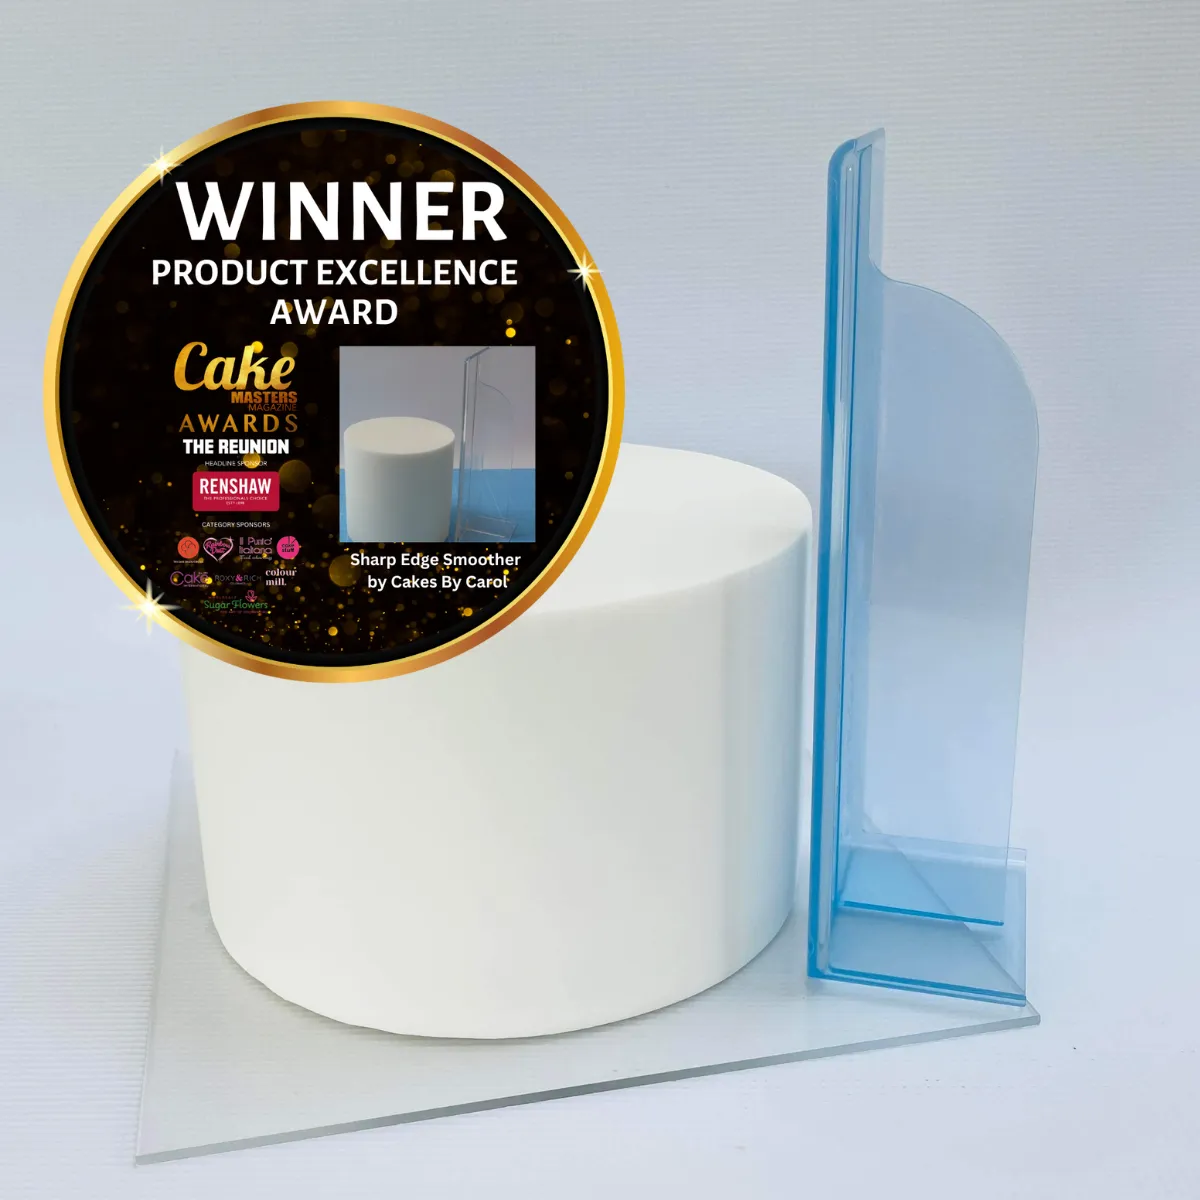
Winner: Product Excellence Award
Trusted by 1000's of cake makers
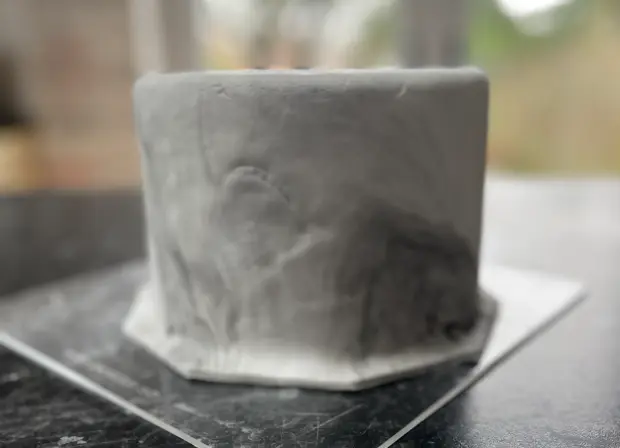
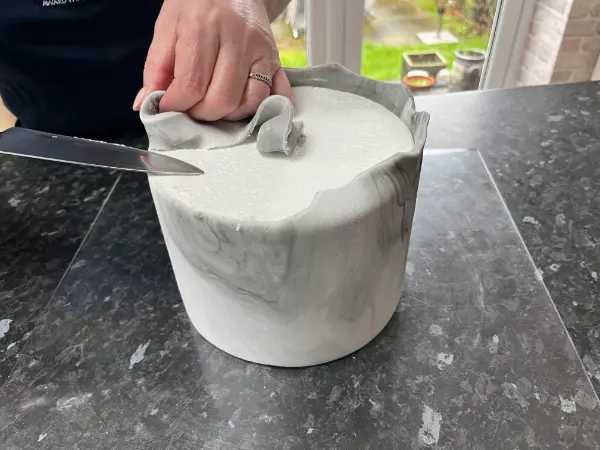
Place an acrylic plate on top of the cake and carefully flip the cake over so its upside down
Using the Sharp Edge Smoother, holding it at the bottom, push the smoother forward and pull it back
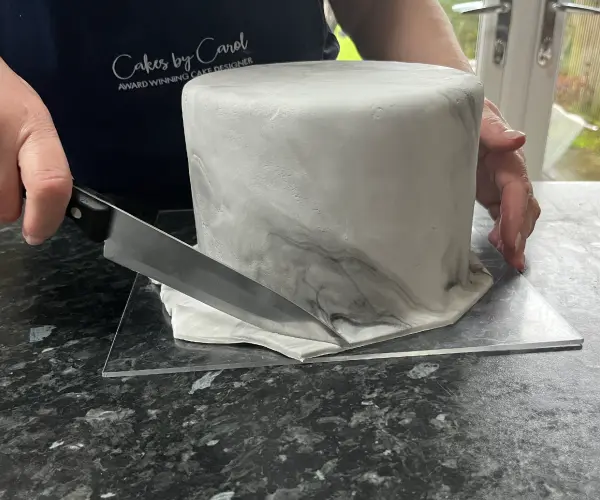
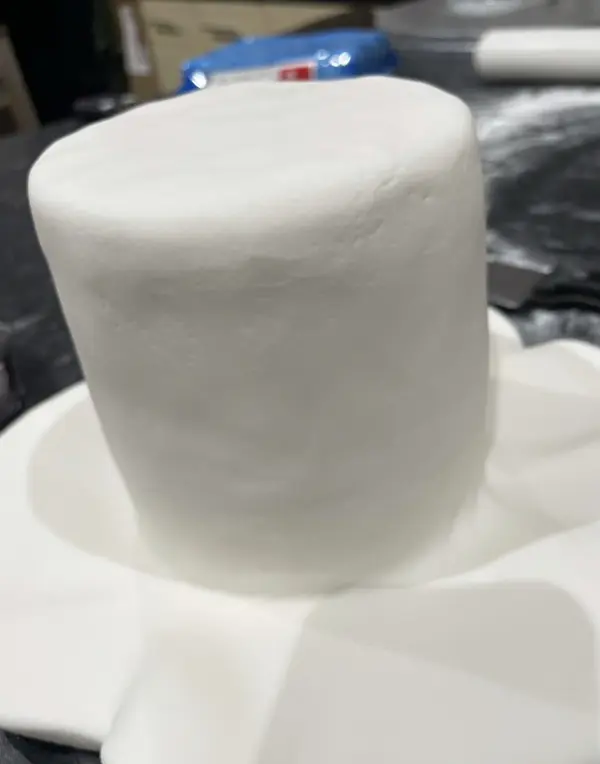
Trim away the excess paste before flipping cake back over
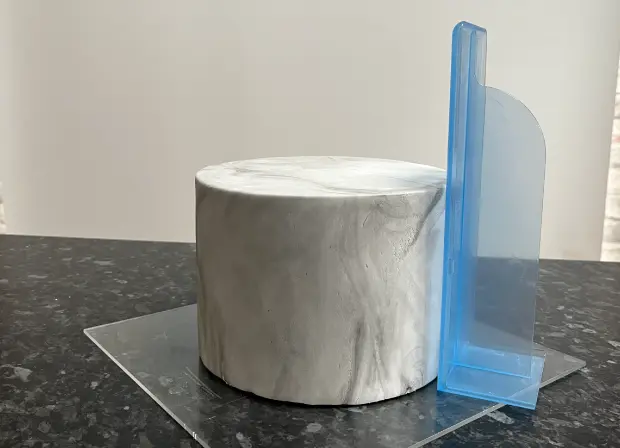
Carefully flip the cake over and use the Sharp Edge Smoother round the side to tidy up if necessary.
You only need one essential tool to create sharp edge cakes, but there are optional extras that can make the process even easier and help you achieve that perfectly polished finish every time
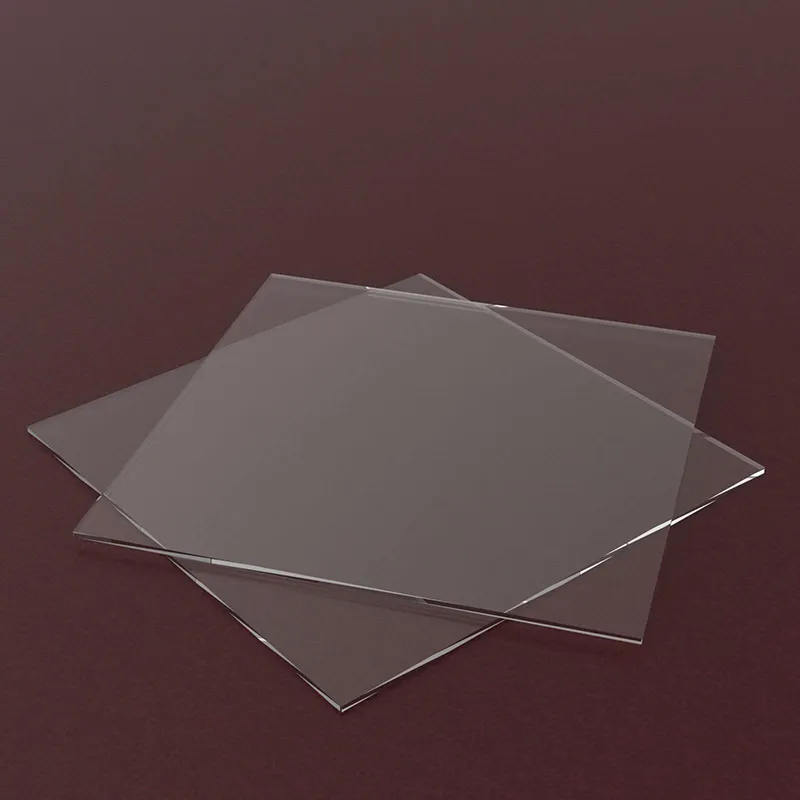
Handy if you don’t already have acrylic plates for flipping your cakes and using with the Sharp Edge Smoother.
Start with Carol’s free Video tutorial to learn the methods to create sharp edges or Join her community for a more indepth tutorial
For cake toppers, cake decorating, recipes and advanced techniques, explore Carol’s full range of online courses.
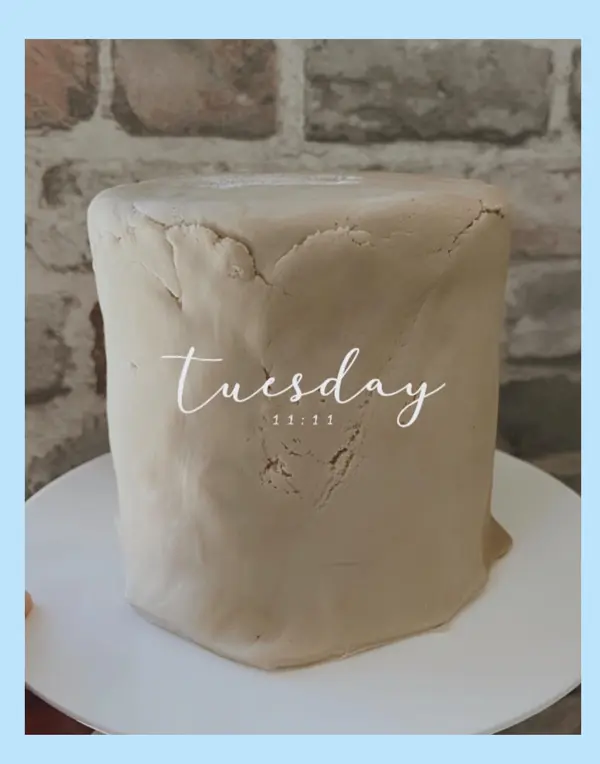
Before
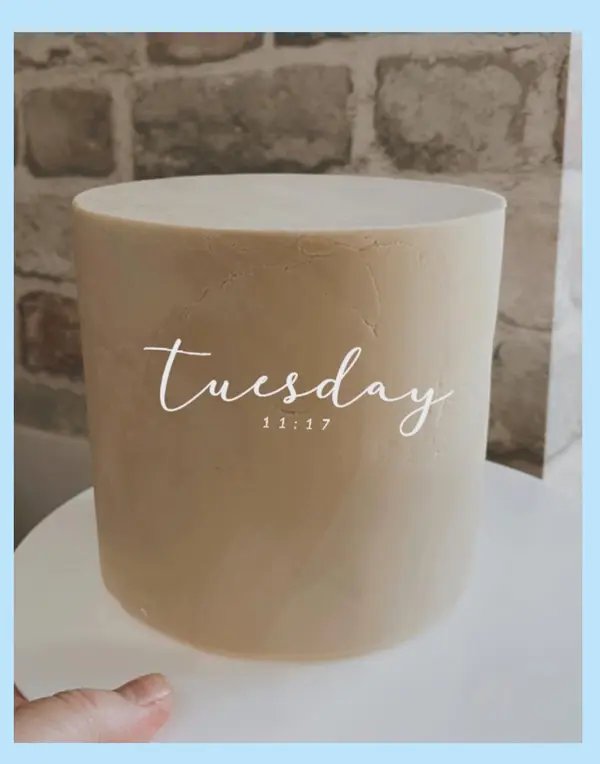
After
Thank you Carol for your sharp edge smoother. My first time using it and I was very pleased with the results. I am looking forward to even sharper edges as I continue to practice using it. Bakers please invest in one as it will make your work much easier. One of the best cake tool investments I have made.
Nadine Matthie
Before
After
Just had to share with you all, just to show you how amazing Carol's Sharp edge smoother is. It keeps the cake level down the sides as you smooth the cake as apposed to the way I was taught how to create a sharp edge. Where the cake always ended up looking wider at the bottom.
Kim Owen
When you join Carol’s online cake making community, you get access to free resources, videos, tips and advice from Carol and other like minded cake makers. Whether you are just starting out or already creating professional cakes, this is the best place to learn, share and get inspired.
Inside the community you will find:
A sharp edge cake refers to a cake that has perfectly straight vertical sides and a defined 90-degree edge where the top meets the sides.
This finish creates a clean, professional and contemporary look.
While many home-frosted cakes have softer, rounded edges, sharp edge cakes require careful ganaching or buttercream work, precise smoothing and attention to detail to achieve that crisp, structured result.
1. Start with your base
Your cake needs to be chilled and your ganache (or buttercream) nice and smooth and firm. Think about sitting on a mattress — it’s bouncy and moves around. If you try covering a cake at room temperature there’s too much movement, which is why we cover cakes when they’re firm and stable.
2. Create the structure first
Make sure your ganache or buttercream is smooth with a sharp 90-degree edge along the top. Once you’ve achieved that clean edge, pop the cake into the fridge so it firms up and gives you a solid structure to work on. (you can find a video on ‘how to ganache your cake’ HERE)
3. Roll your paste slightly thicker
Roll your fondant thicker than you normally would. If it’s too thin it will tear easily, show every lump and bump, and you won’t have enough movement in the paste to create those crisp edges.
4. Covering the cake
Once you’ve covered the cake with the fondant, work on the top edge first making sure the paste is secured to the cake, then work your way down. Once you reach the bottom, trim the paste leaving roughly 10mm excess.
5. Flip and smooth out the paste
Flip the cake over using acrylic plates. Using your Sharp Edge Smoother, push forward and pull back. As you do this, the smoother pushes the paste into the base gap, helping to form that clean sharp edge.
6.Refine the finish
Once that sharp edge is established, move your hand further up the smoother and work across the rest of the cake. You’ll notice that while you’re working on creating that sharp edge, you’re also smoothing out any imperfections round the side of the cake.
7.Flip back and admire
Turn the cake back over… and ta-dah — a flawless, sharp edge finish
If you make fondant covered cakes, honestly, a cake smoother makes life a million times easier 😄. Here’s the lowdown:
Why a smoother helps:
1.Crisp edges – It pushes your fondant neatly into that 90-degree angle, creating that clean, architectural look.
2.Even surfaces – It spreads pressure evenly, so no lumps or bumps sneak through.
3. Faster, less frustrating – You can refine top and sides without constantly re-rolling fondant or spending
4. Consistency – If you’re making more than one cake, it’s the easiest way to get every edge looking identical.
One of the most asked questions we get when it comes to sharp edges
We mainly use Saracino Pasta Cover. It’s a little firmer than the cheaper brands, which makes it perfect for creating those crisp, sharp edges. It’s designed for warmer climates too, so you don’t get the dreaded ‘sweating’ when it’s raining or really hot outside. It doesn’t tear and there’s no elephant skin — all the things that can ruin a smooth, professional finish.
We’ve also used Massa with great results.
If you’re serious about being a cake maker, I always recommend investing in good quality fondant for covering your cakes. The cheaper brands are usually where problems start — tears, stretching, and uneven surfaces creep in, and before you know it, you’ve got stress and frustration instead of smooth, flawless edges.
The answer is a definite YES! With the right tools, techniques, and a little guidance, beginners and hobby bakers can absolutely achieve a flawless finish and those beautiful sharp edges on their cakes. It’s all about learning the steps and practising — and once you’ve got it, it feels so satisfying!
You can find lots of hints and tips for your cake journey in Carol’s Circle Community — join for free here!
⏰ Doors Close In:

Get VIP access to Carol’s Wedding Cake Lounge! Join for 12 months and enjoy expert guidance, tutorials, and a creative cake community.
Whether you’re looking to refine your skills or grow your cake business, the Wedding Cake Lounge is your key to success!
Join the waiting list now and be the first to know when the doors open!
Don’t miss your chance to grow your cake skills and business—secure your spot on the waiting list now!

Master show-stopping wedding cakes in Carol's online lounge - don’t miss out!
Learn how to make amazing wedding cakes from award-winning Carol in the exclusive lounge